
Congratulations!
You received your online gallery with your beautiful photos but you don’t know how to download them? Follow this guide!
Storing your photos
We always recommend you download all your photos using a computer so you can store them safely in a hard drive.
Make sure you backup your files so you don’t lose them in case your primary hard drive fails!
You may also want to use a cloud service like Google Drive, iCloud or Dropbox to backup your memories.
Nevertheless, we will show you how to download all your photos in one go, both to your computer and to your phone!
Using your gallery
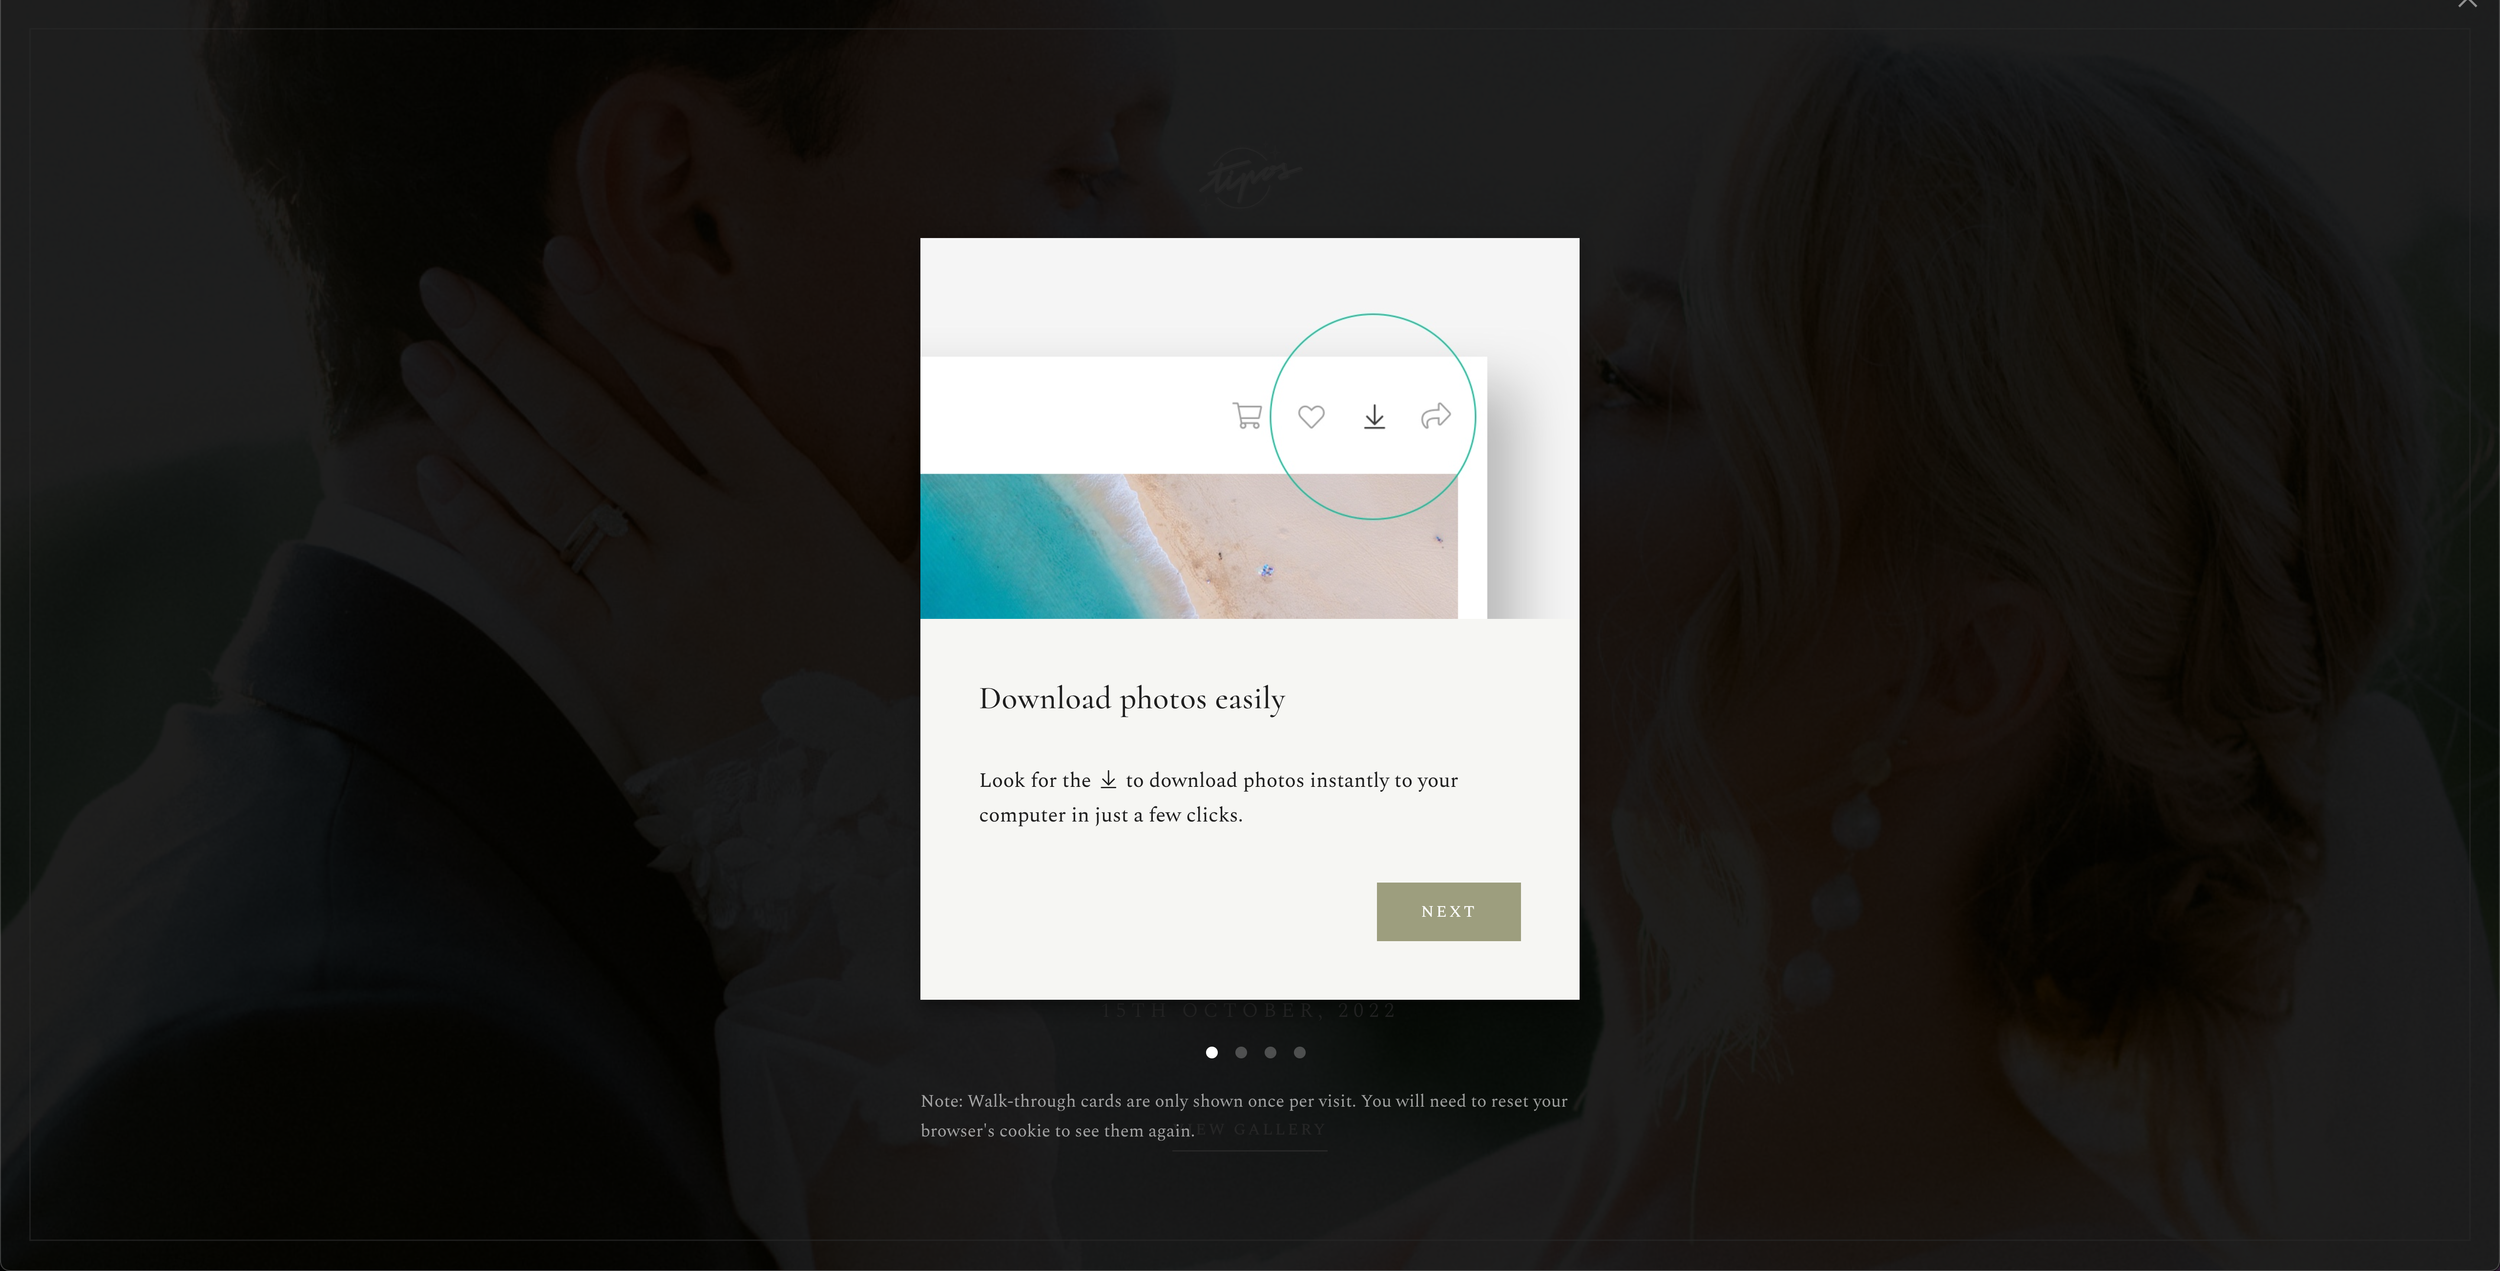
When you log into your gallery for the first time, you will be prompted with a quick guide on how to use it. However, we know you probably won’t read it because you want to see your photos as soon as possible, so that’s why we came up with our own guide!
Saving to a computer
Downloading your whole gallery to a computer is very easy and can be done in just a couple steps:
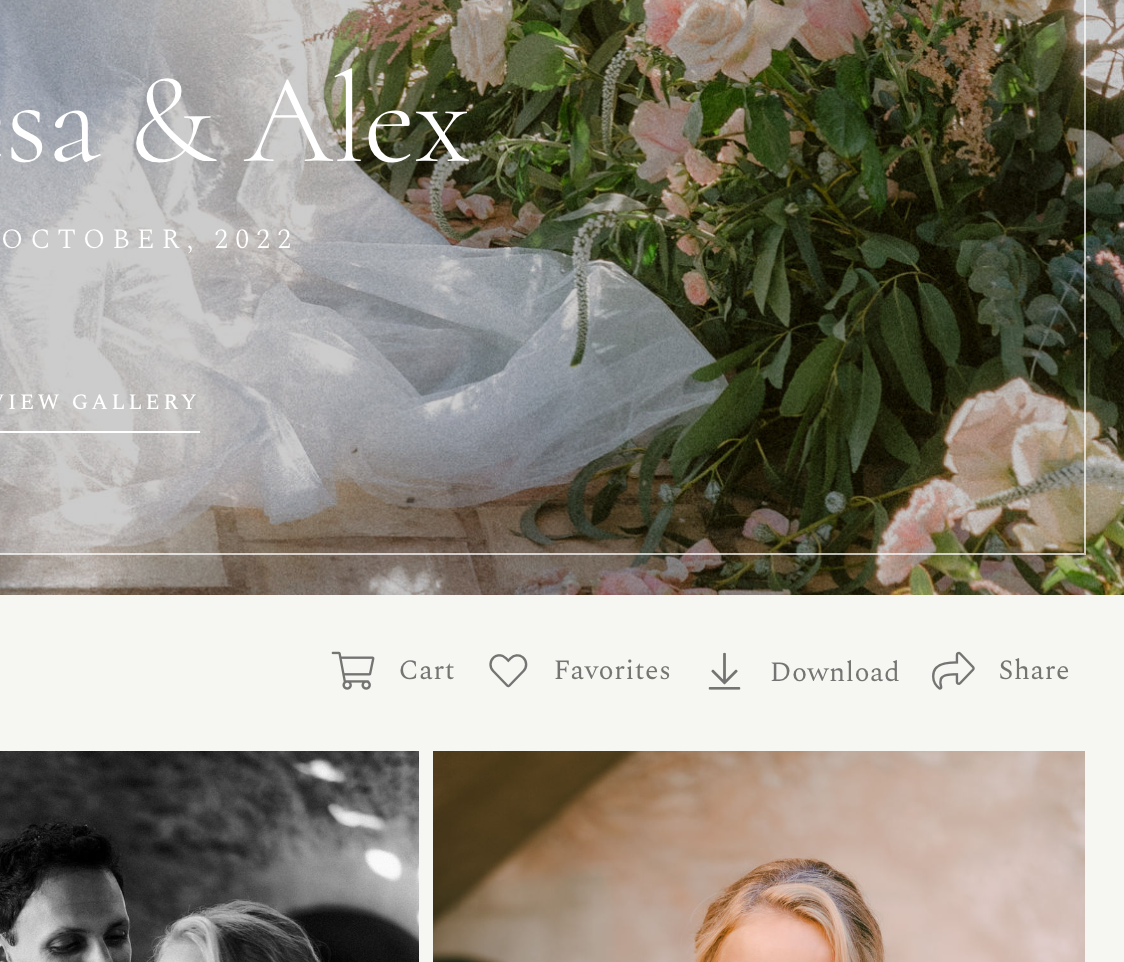
Open your gallery and click the “Download” button you can find on the top right corner.
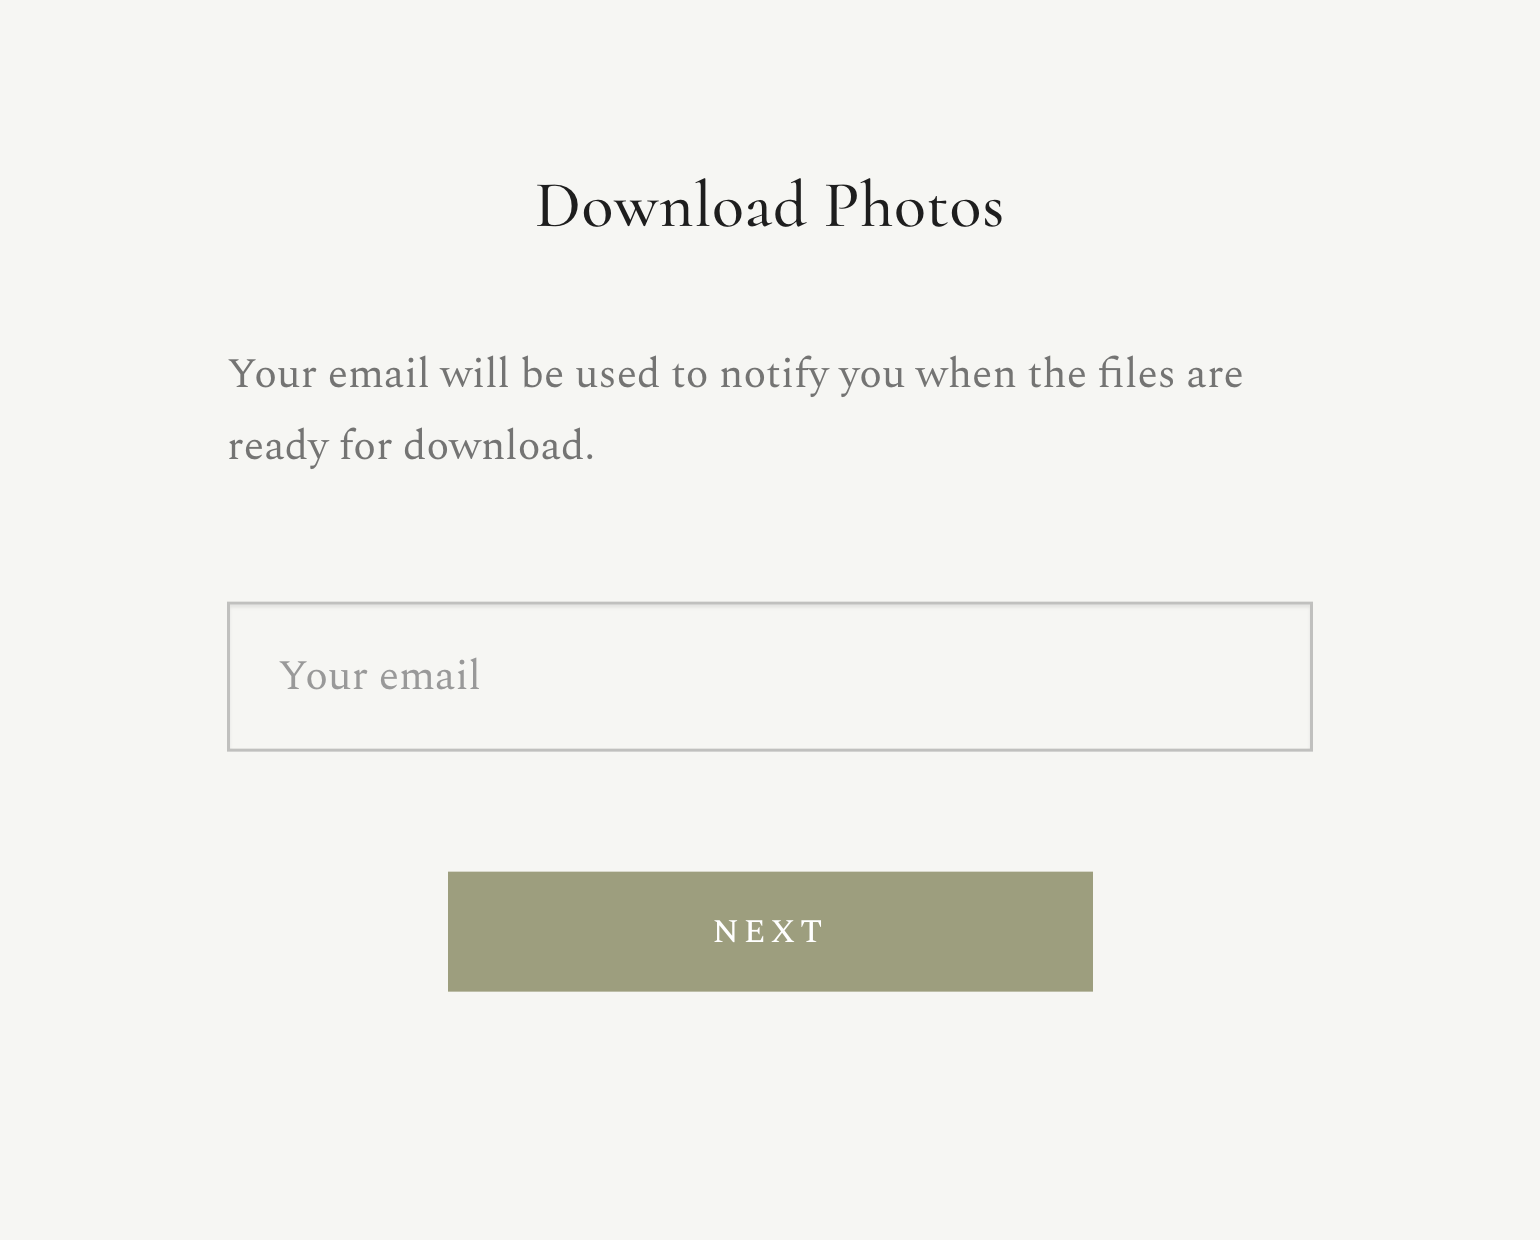
After clicking “Download”, you will be asked for your email address. Use your own email address so you can be notified when your download link is ready.

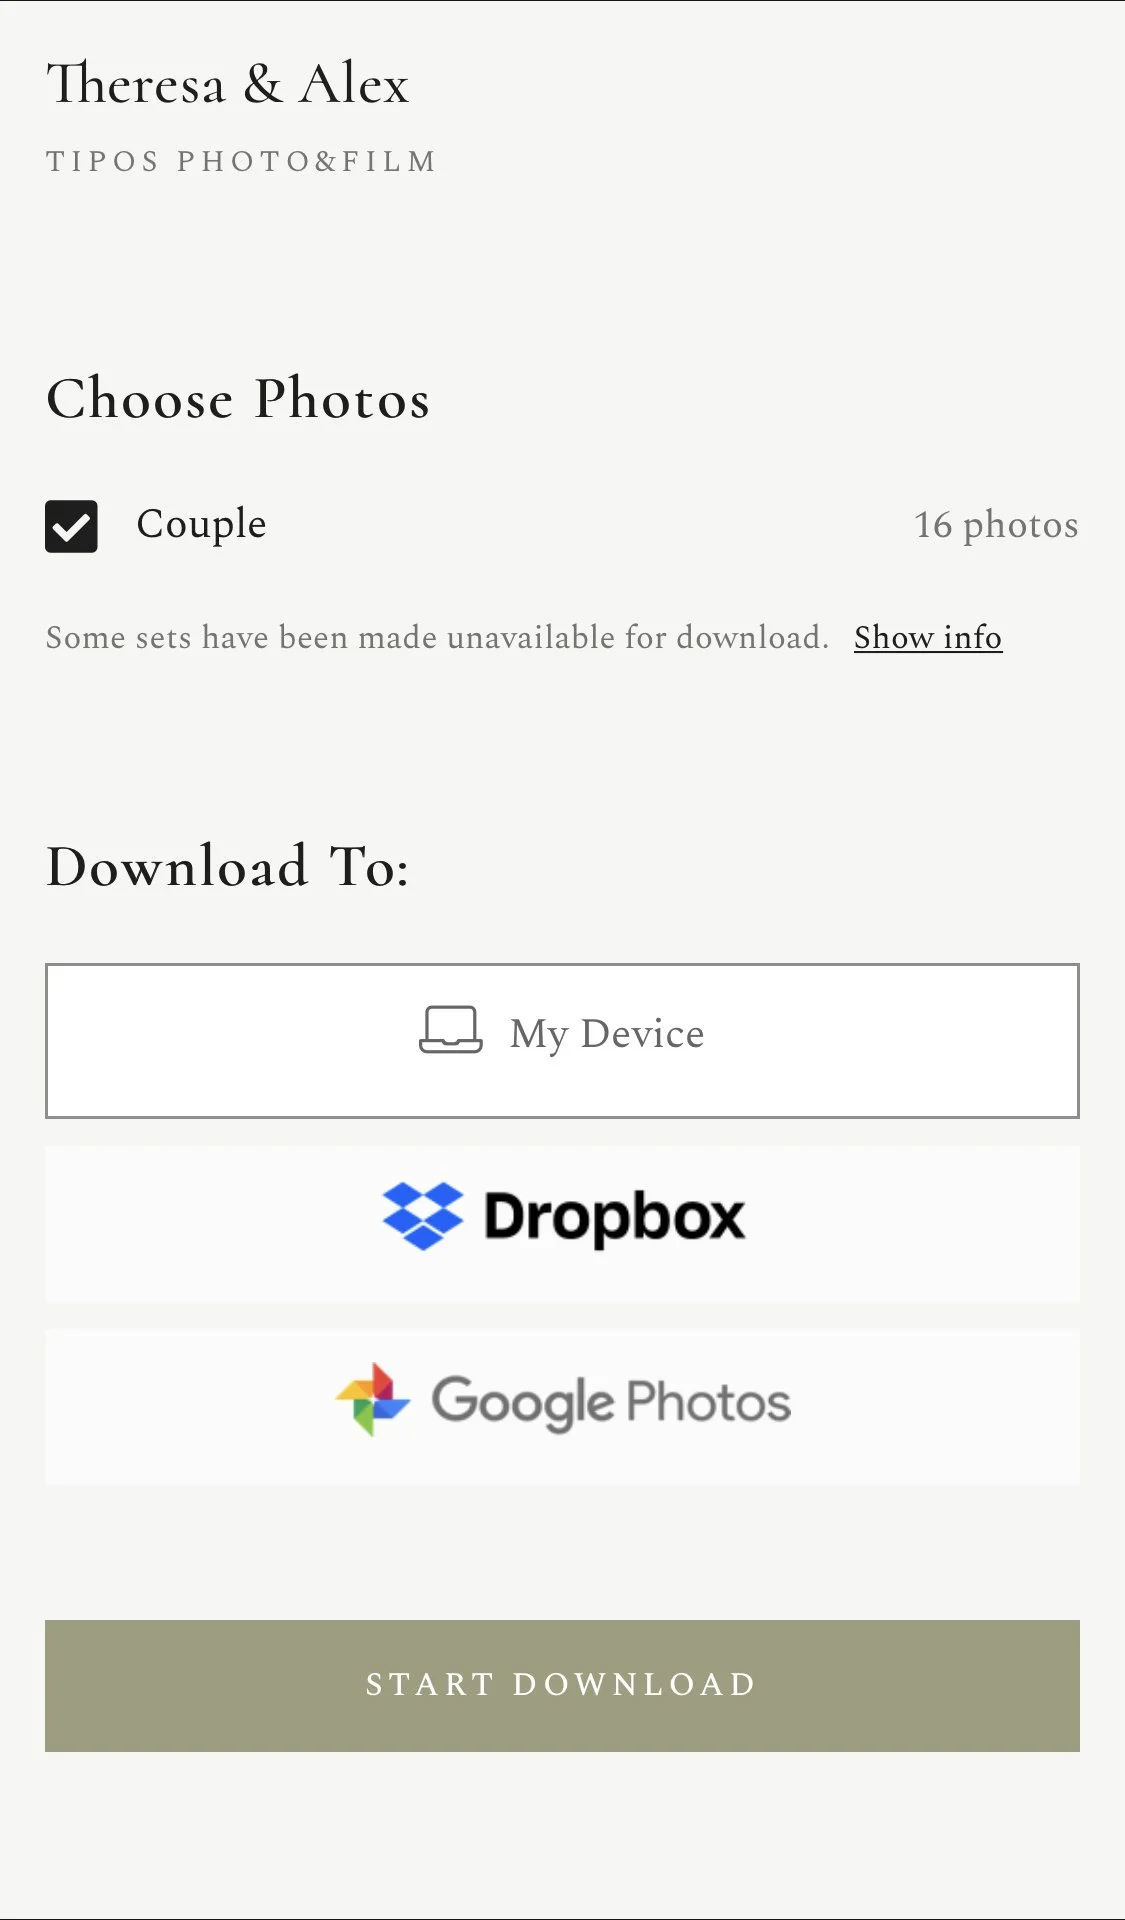
Once the download link is ready (it may take a while depending on the size of your gallery), you will be able to select which folders you want to download, and where you want to download them.
To download the whole gallery, make sure every folder is checked.
Select “My Computer” as download location and click on “START DOWNLOAD”.
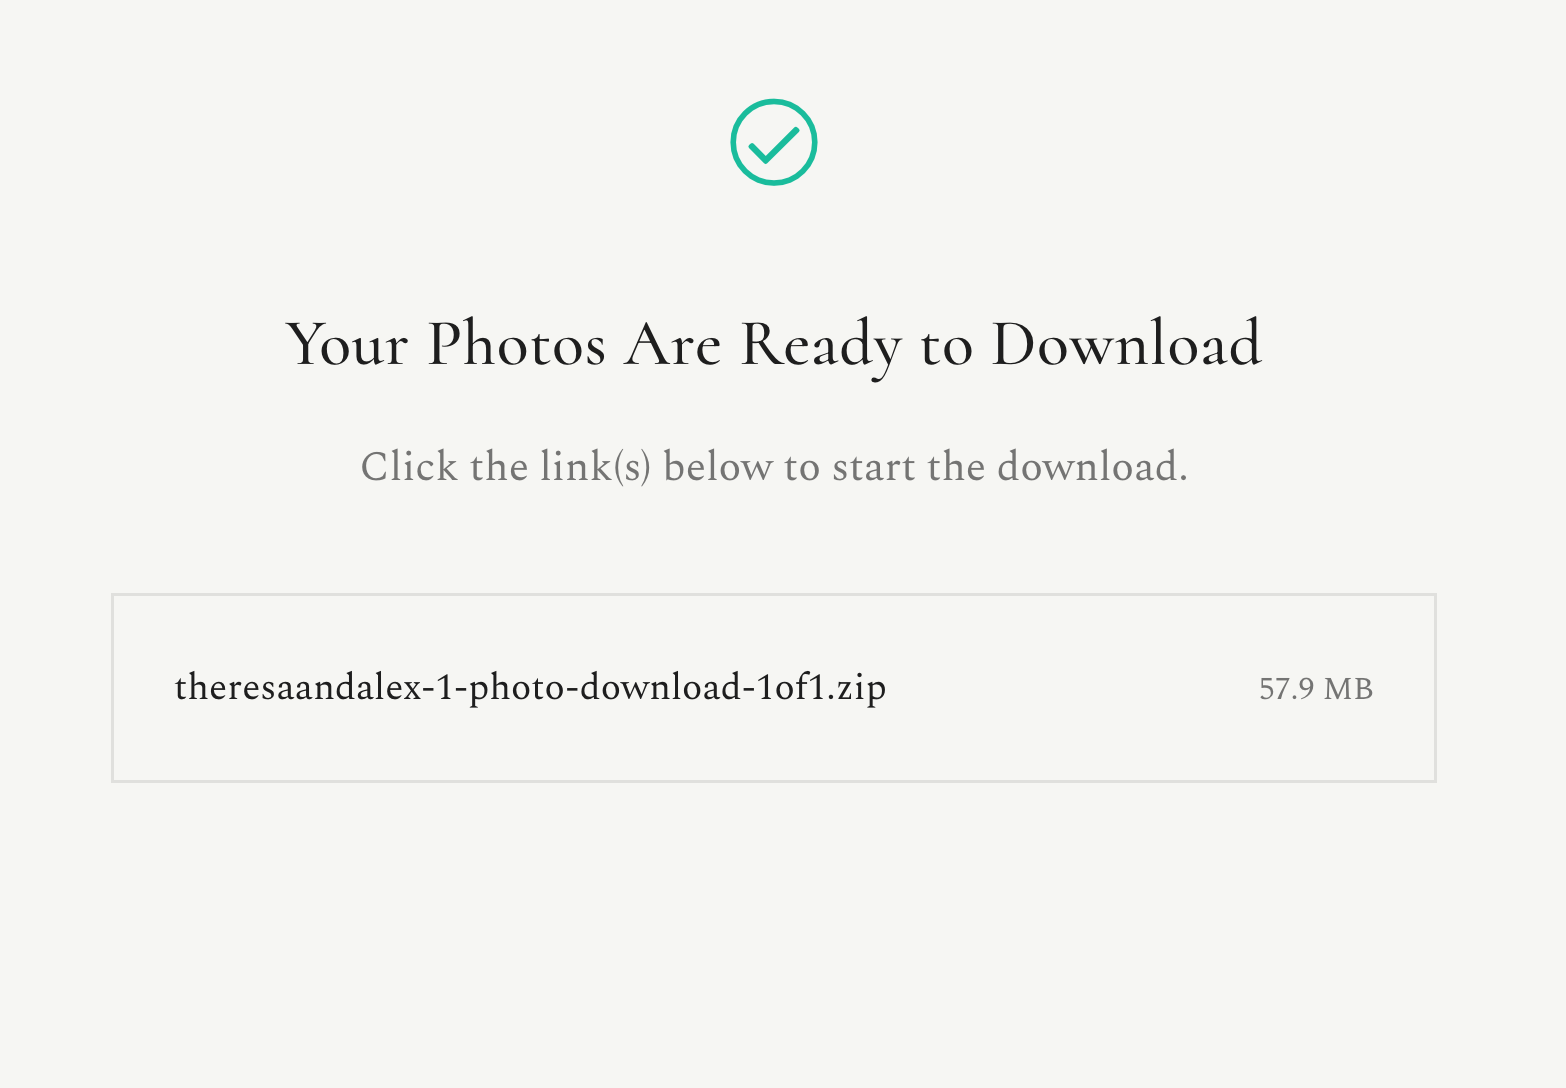
After it finishes loading, you can click on the .ZIP file that appears on screen and save it to your computer. Once it’s saved, you can open this file to access all your files from your own computer.
Saving individually to your phone
We recommend sharing your favorites to your phone directly from your computer, although you also have the option of easily downloading individual photos to your phone.
Open the photo you want to save to your phone and click on the “Download” icon on the top right corner.
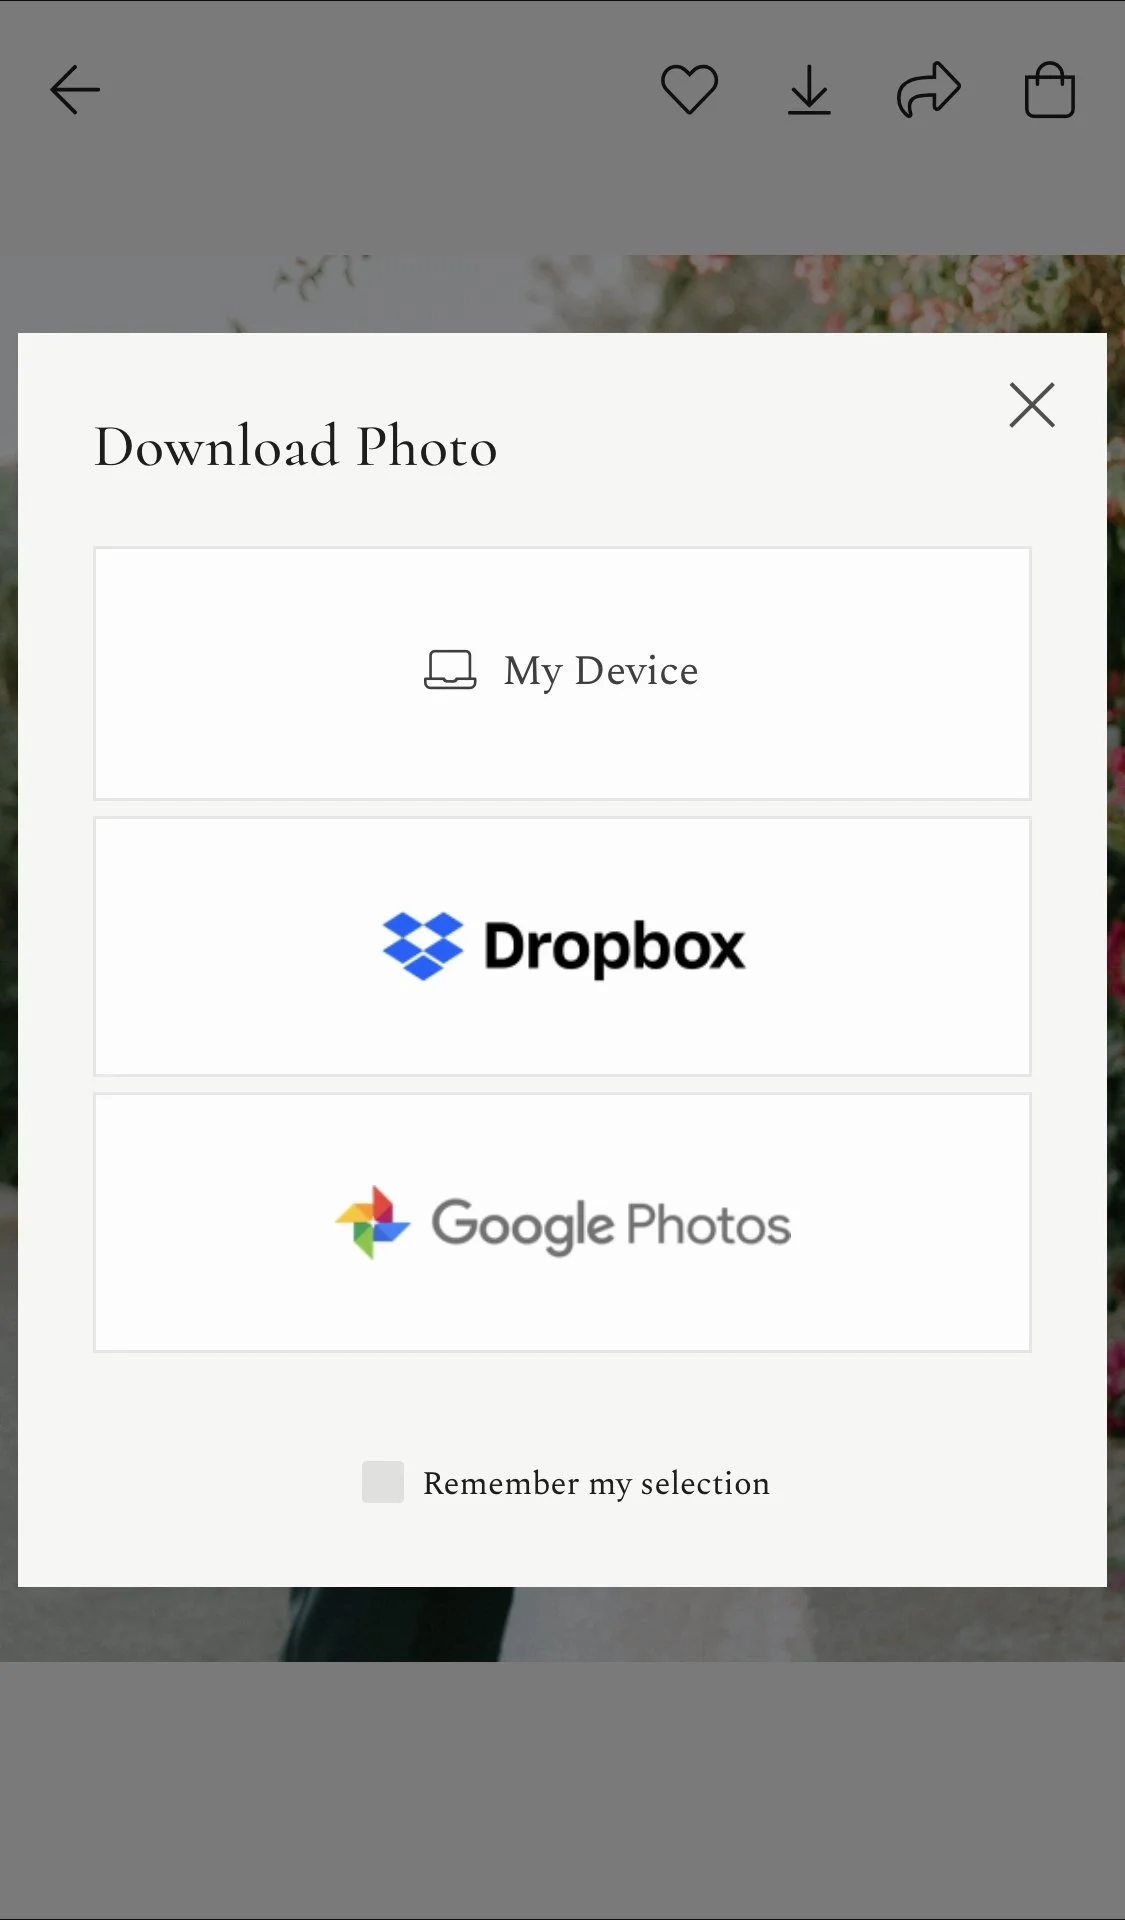
You will be prompted with a popup: select “My Device” and the photo will open in a new tab.
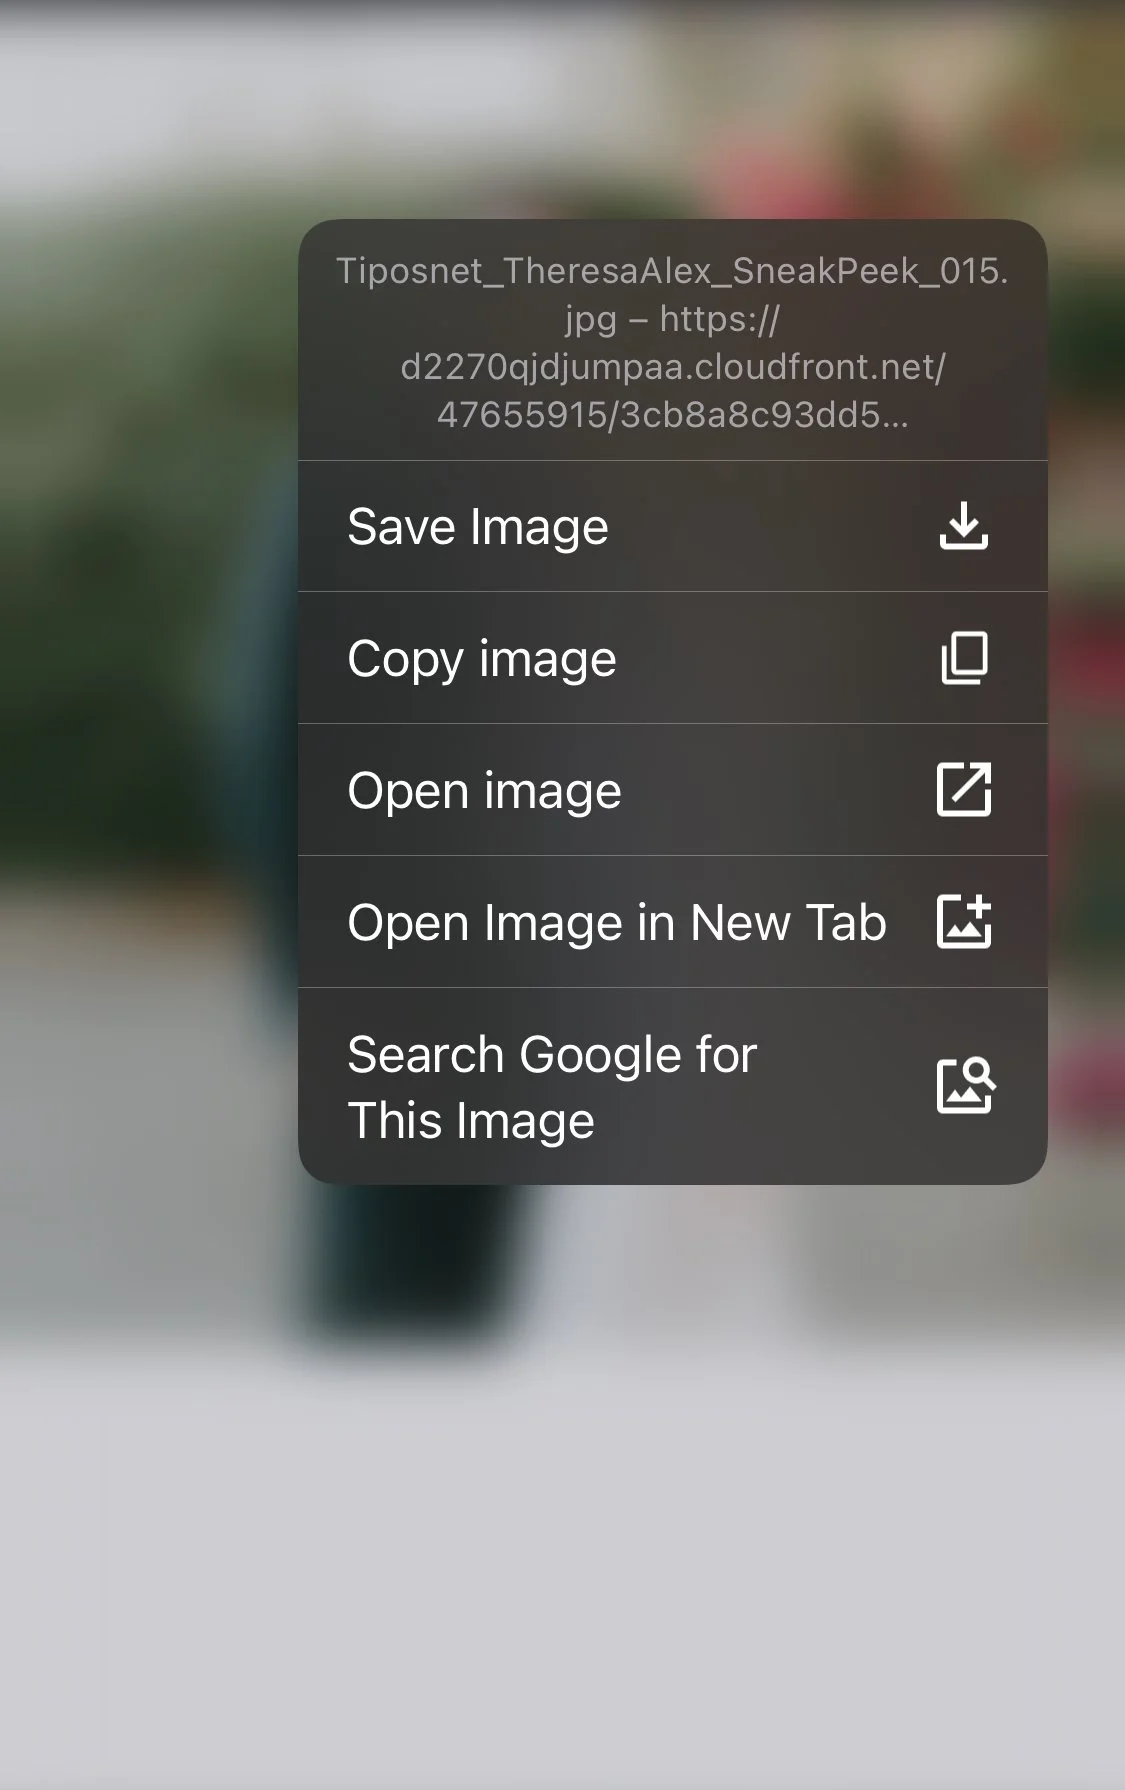
Press and hold the photo that opened in the new window, and select “Save Image”. Your photo will be saved to your Camera Roll. You can close this tab and return to your gallery if you want to download another photo. You can keep doing this for every photo you want to download.
Saving your whole gallery to your phone
And finally, if you don’t have access to a computer, or you want to fill your phone storage with your wedding photos, you can still download your whole gallery to your phone, you just need to perform some additional steps:
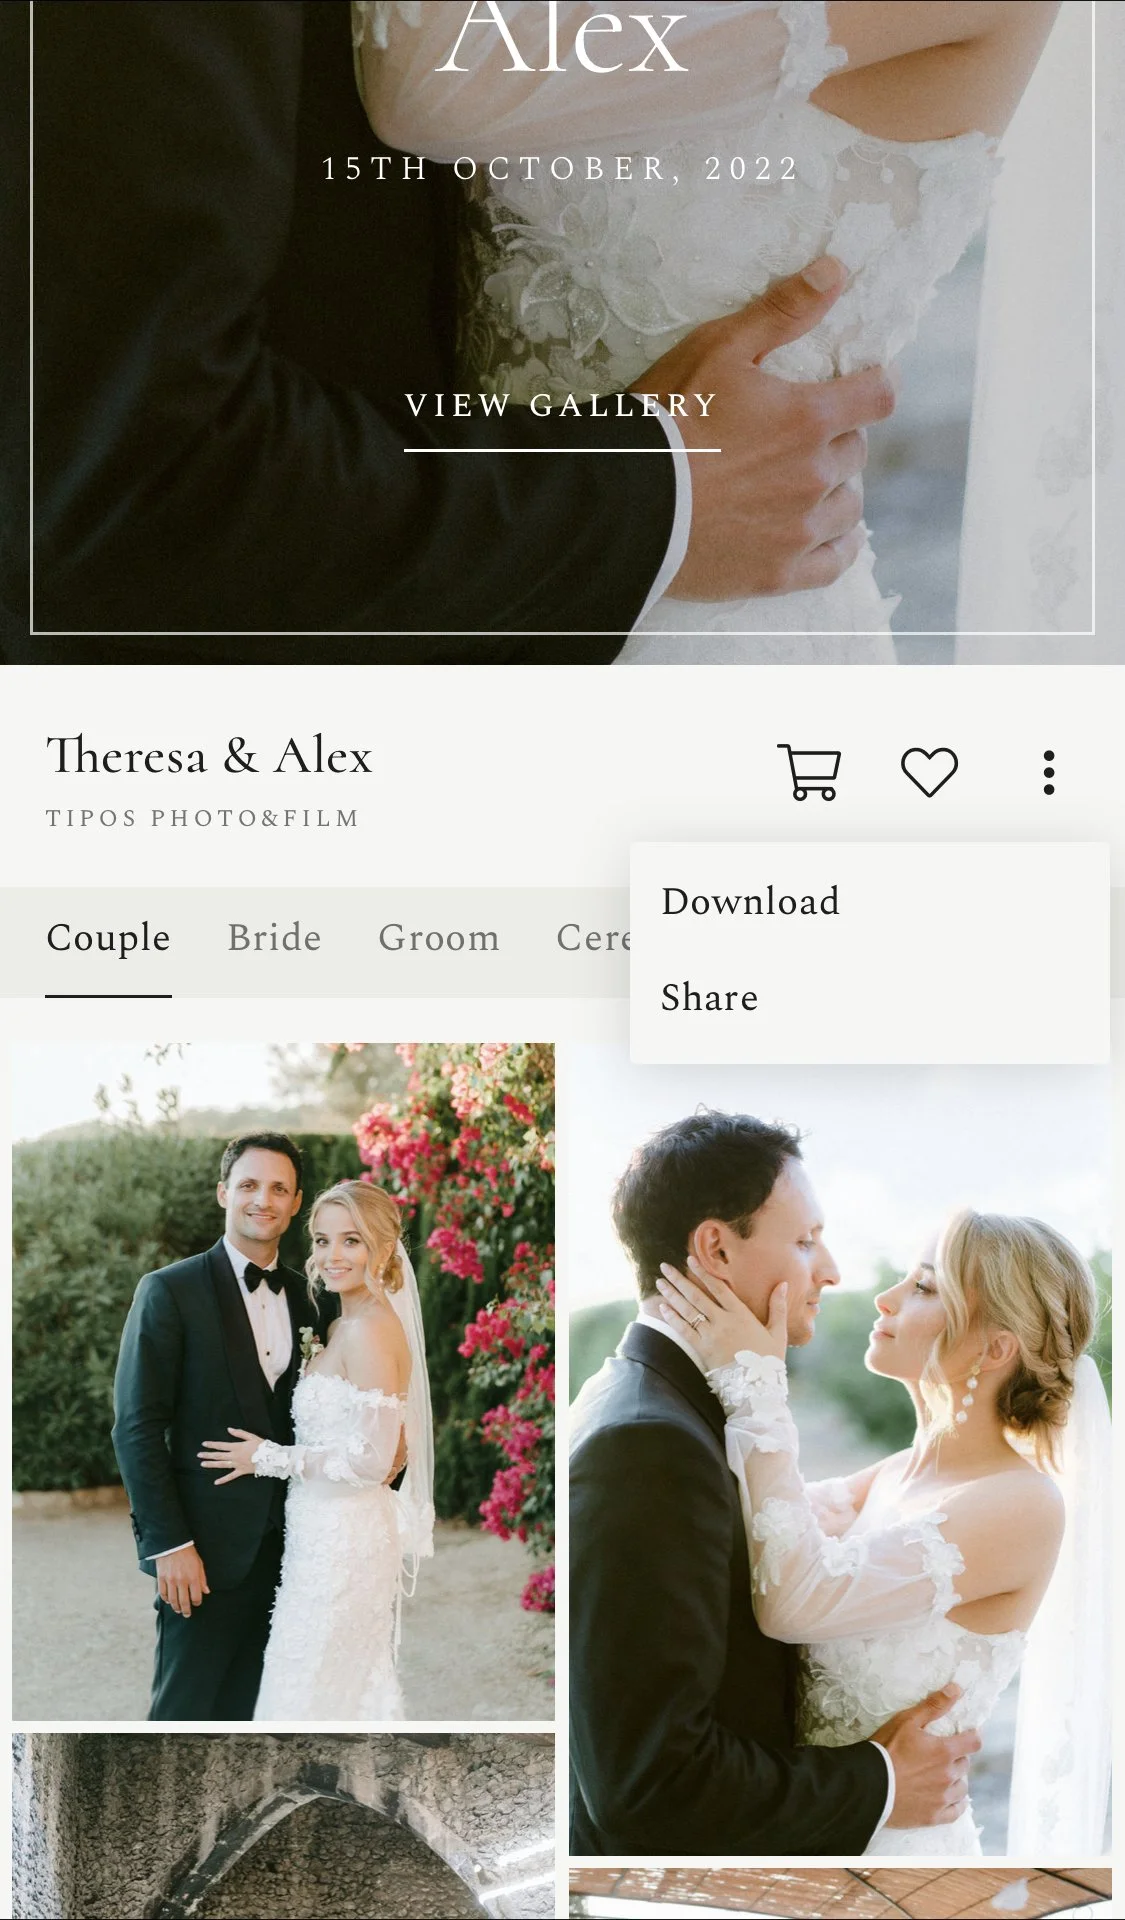
On mobile, the download button is a bit hidden. You need to press the 3 dots on the top right corner to make it appear.
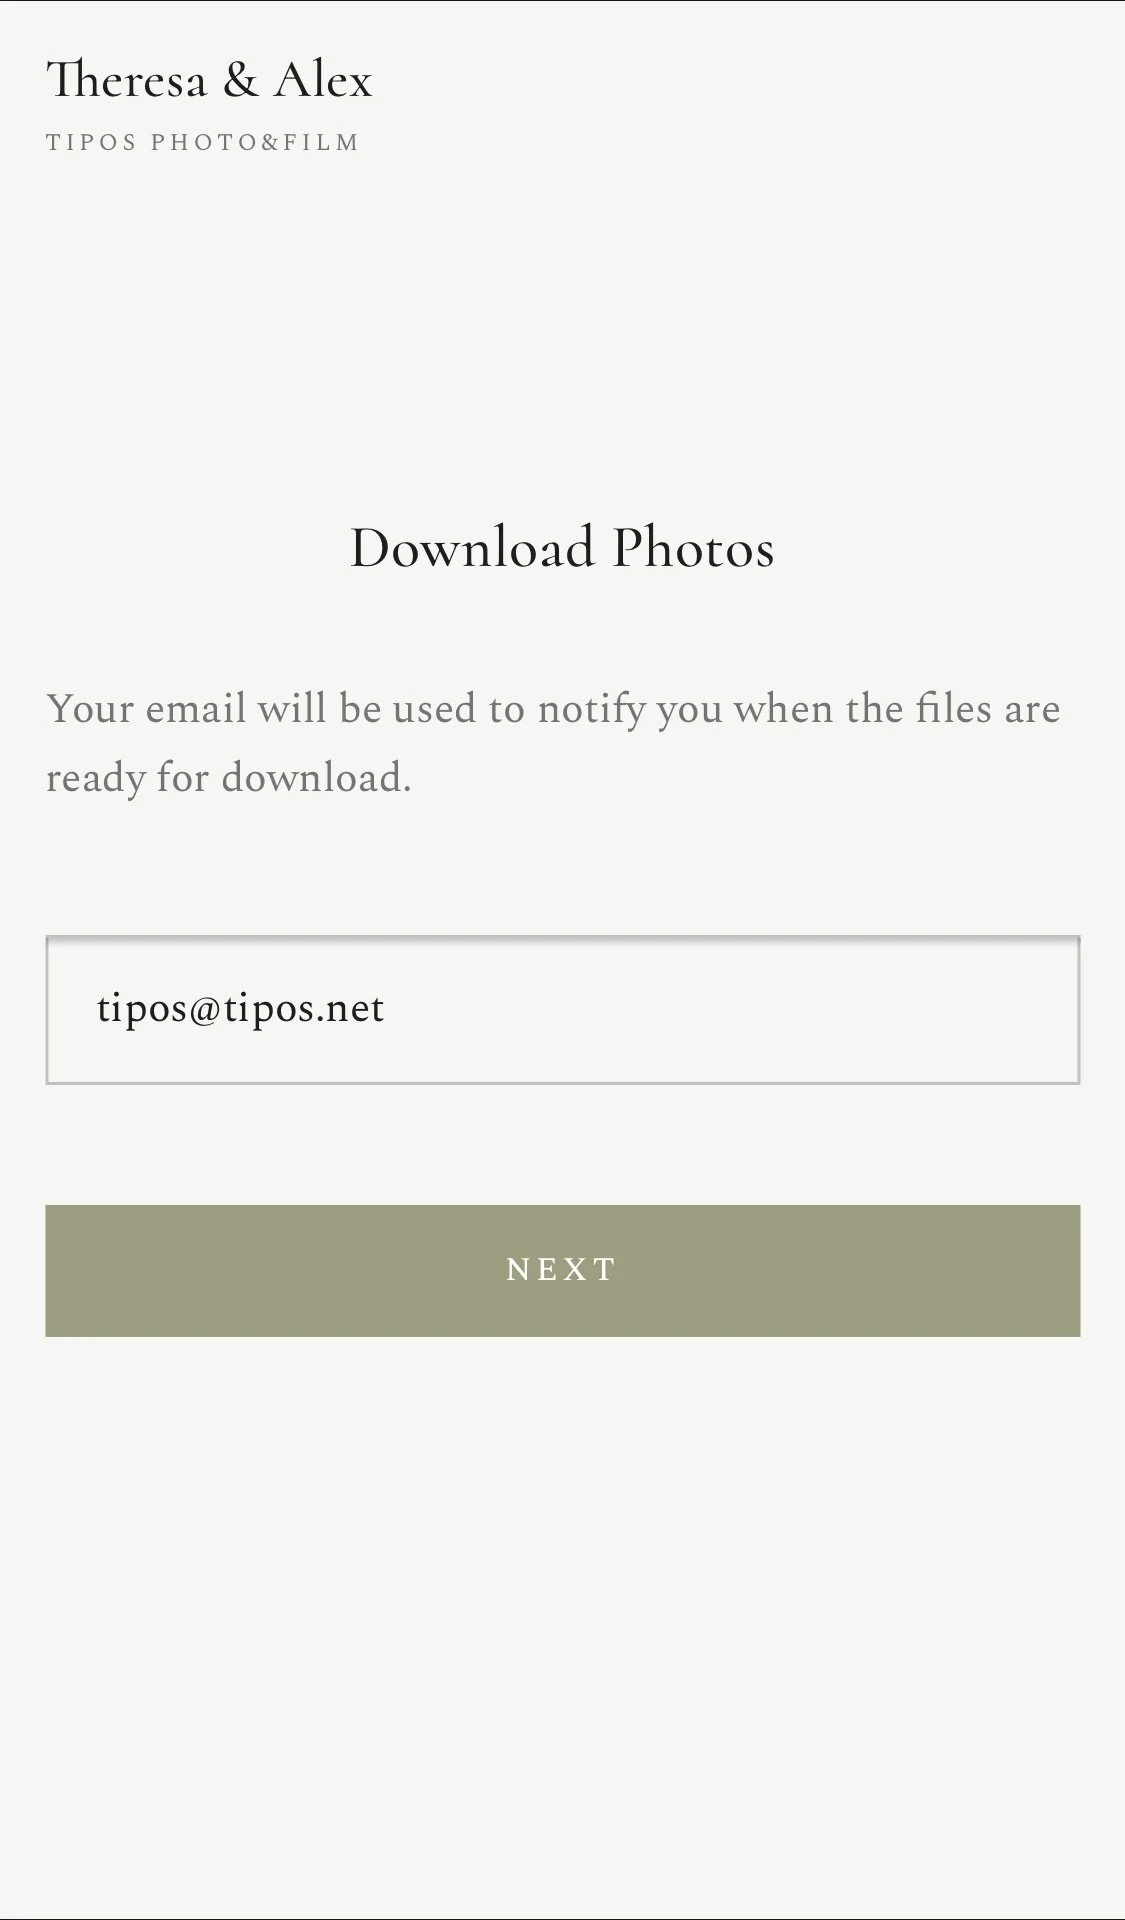
Enter your email address when asked in order to be notified when your download link is ready.
Choose which folders you want to download, select “My Device” and press “START DOWNLOAD”.
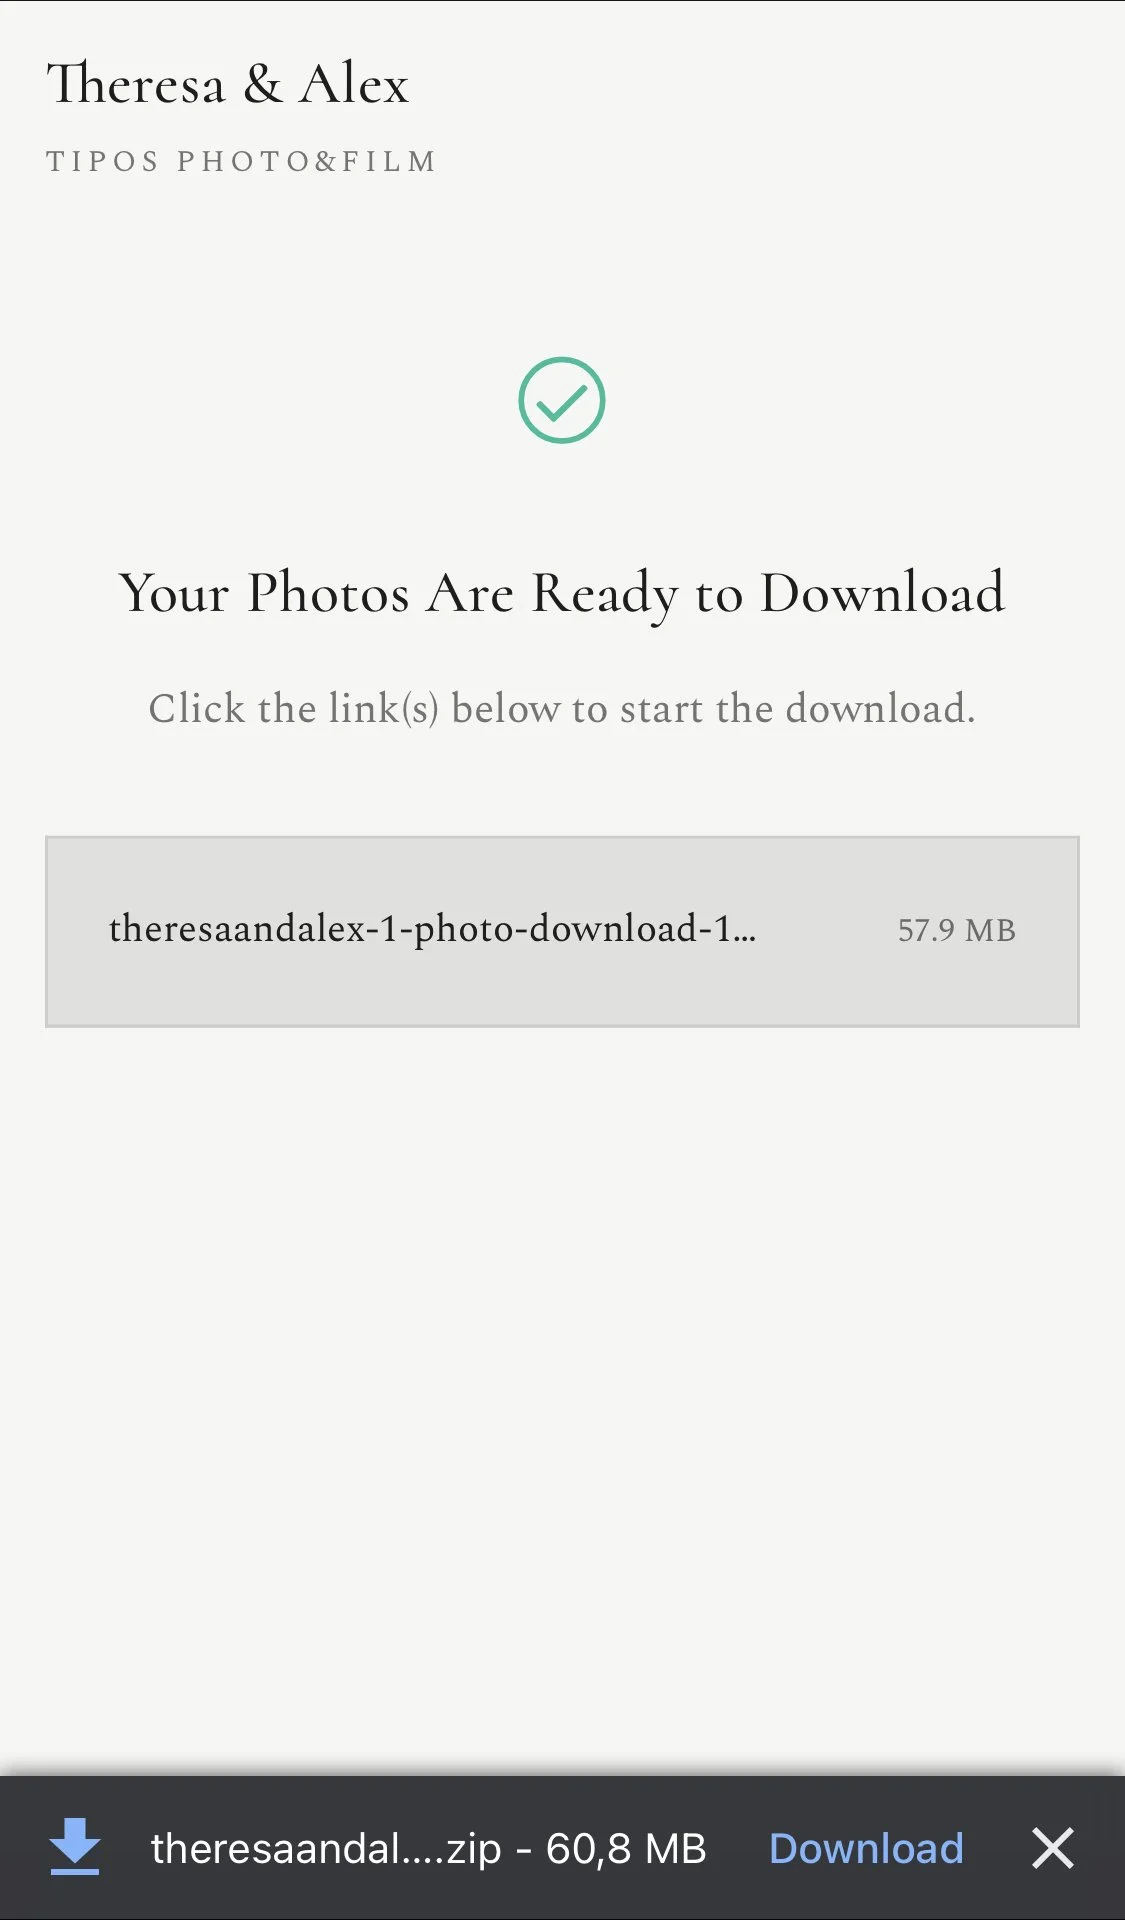

Click on the .ZIP file that appears on your screen, and open the file in downloads. Now, inside your download folder, when you click on the file it should create a folder next to it with the same name.
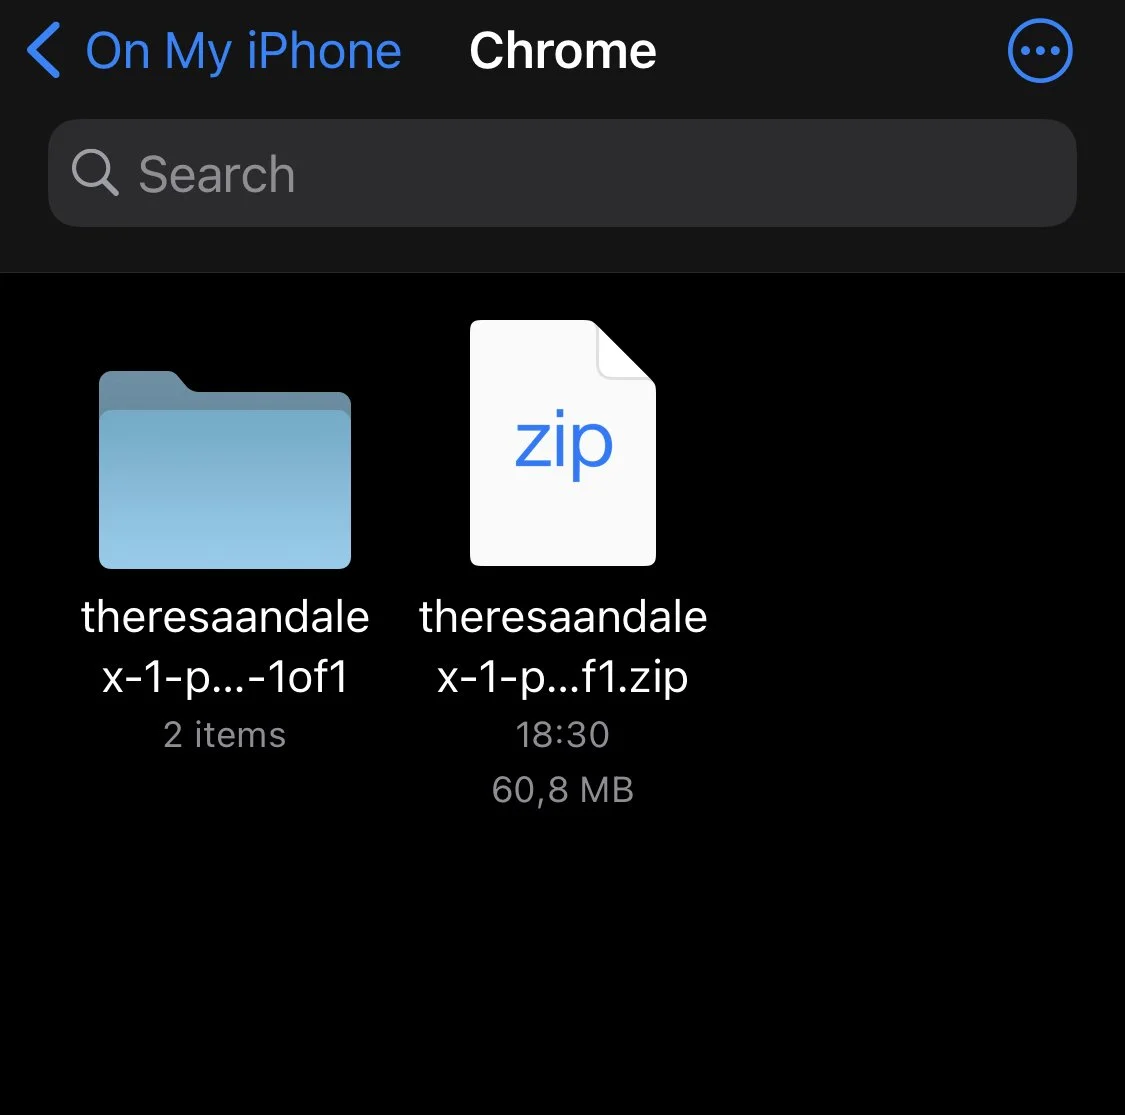
Once inside that folder, you will be able to see all your photos, but you still won’t be able to see them from your Camera Roll. This is why we need to perform one last step.
Click on “Select” on the top right corner, and then “Select All” on the top left corner. With all your photos selected, click on the “Share” icon on the bottom left corner, and select “Save images”.
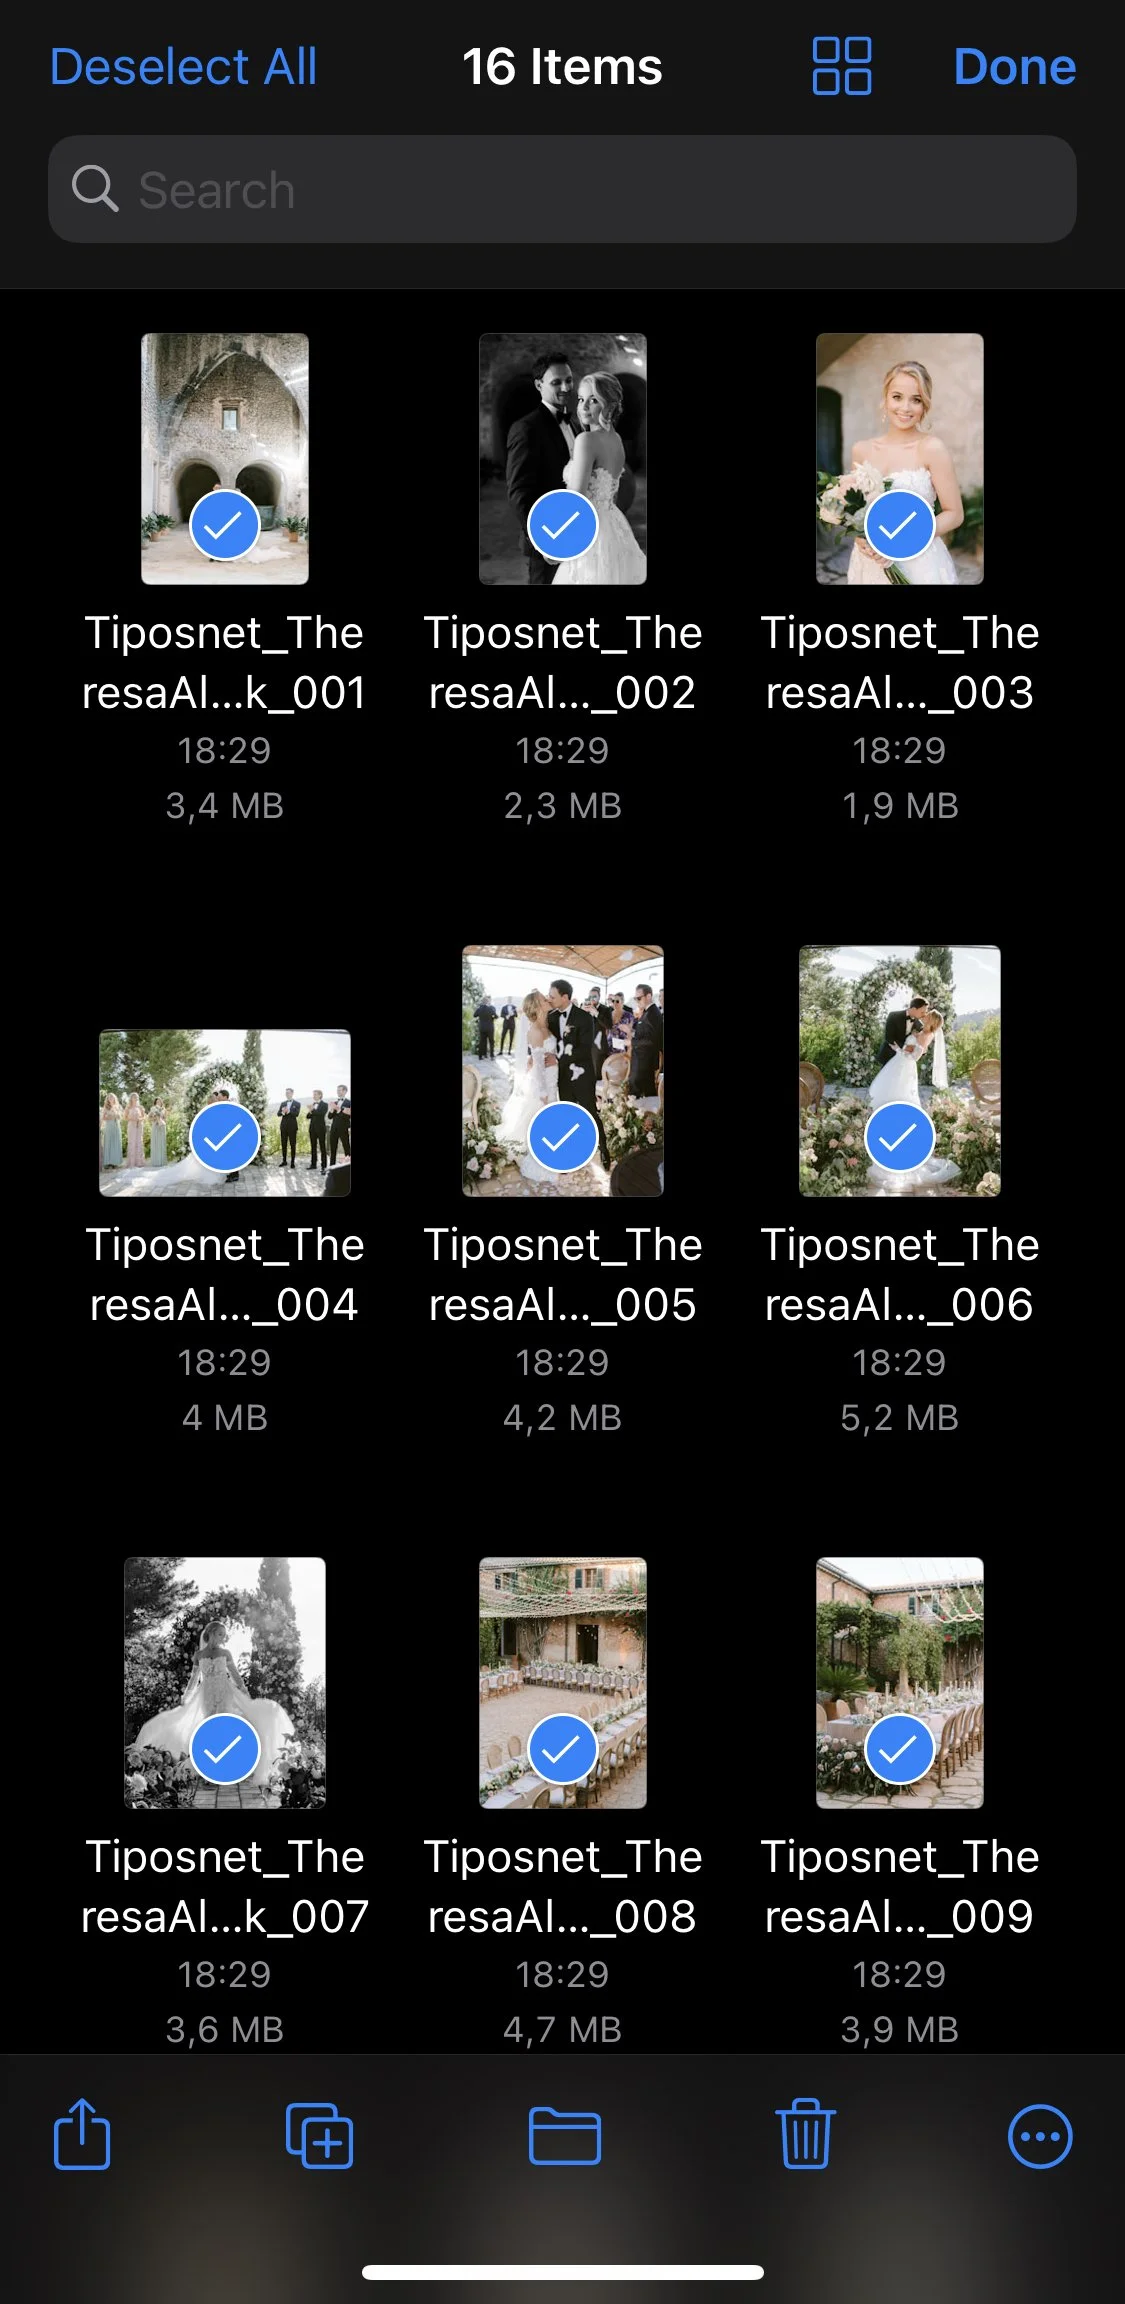

If you’re done everything right, you should be able to see all your photos from your Camera Roll :)
We hope this guide was helpful!
Nevertheless, let us know if you have any questions <3